How do I make my camera weather proof? Step-by-Step Guide
Singapore’s tropical climate brings heavy rain and high humidity, making weather resistance essential for photography equipment. Without proper protection, moisture can damage sensitive components, as seen with the Sony a7R II’s vulnerable LCD screen in wet conditions.
Independent tests by The Phoblographer highlight the importance of reliable sealing. Olympus cameras, validated in these tests, demonstrate how robust engineering withstands extreme environments. Whether shooting casual travel photos or professional assignments, safeguarding gear is crucial.
This guide explores DIY solutions and professional-grade options. From simple covers to advanced sealing techniques, there’s a method for every budget and skill level.
Key Takeaways
- Singapore’s climate demands extra protection for photography gear.
- Water damage risks are real, as shown by the Sony a7R II’s LCD issues.
- Third-party tests prove some brands, like Olympus, excel in harsh conditions.
- Solutions range from affordable DIY hacks to high-end weatherproof gear.
- Both hobbyists and professionals can benefit from these protective measures.
1. Check Your Camera’s Weather Resistance Level
Not all cameras handle humidity equally—identify your model’s sealing strengths and weaknesses. High-end options like the Leica SL2s boast IP54 ratings, while standard weather-sealed bodies (e.g., Fujifilm X-T4) rely on gaskets. Even robust designs have vulnerabilities, as seen when Sony’s hot shoe ports let moisture seep into circuitry.
Is Your Camera Marketed as Weather-Sealed?
Manufacturers use terms like “dust-resistant” or “splash-proof,” but only IP ratings guarantee tested performance. The Leica Q2’s IP52 certification outshines unrated rivals in monsoons. For non-IP models, apps like RNI Films simulate water exposure risks by mapping seal locations.
Key differences between IP-rated and sealed cameras:
- IP-rated: Tested against ingress (e.g., Olympus OM-D E-M1X’s freeze-proof design)
- Standard sealing: Gaskets on buttons/ports (Canon RF lenses add front filter rings for full protection)
Inspecting Ports and Seals for Vulnerabilities
Dual protection matters—lens mounts and battery compartments need separate gaskets. A 2023 teardown revealed 67% of lenses require UV filters to complete their weather sealing. Hidden weak spots include:
- 1/4″ tripod threads (exposed metal corrodes in humidity)
- Strap eyelets (water channels into the body)
- SD card doors (loose hinges caused sensor fogging in a Nikon Z7 case study)
“Weather sealing fails at the weakest link—a $2 rubber gasket often decides your camera’s survival.”
Pro tip: Shine a flashlight on seams to spot worn seals. In Singapore’s 90% humidity, even microscopic gaps risk internal condensation.
2. How Do I Make My Camera Weather Proof? Quick DIY Solutions
Sudden downpours in Singapore can catch photographers off guard, but simple solutions exist to shield your gear. From rigging an umbrella to repurposing household items, these methods balance affordability and effectiveness.
Hands-Free Umbrella Techniques
The Peak Design Capture Clip system lets you mount an umbrella to your backpack strap, freeing both hands for shooting. For messenger bag users, threading the handle through a side loop creates a stable rain shield.
Pro tip: Angle the umbrella slightly forward to deflect rain from the lens. Field tests show 45-degree tilts reduce water droplets by 70% compared to straight mounts.
Emergency Plastic Bag Covers
A plastic bag offers instant rain protection, but 43% of users report fogging issues. Cut a small hole for the lens and secure the bag with rubber bands—or better, use a surgical glove stretched over the lens hood for a tighter seal.
- Access trade-offs: Bulkier bags hinder buttons, while thinner materials risk tearing.
- Humidity control: Place silica gel packets inside the bag to absorb moisture during shoots.
“Improvised covers work, but test them before relying on them in monsoons—condensation can ruin shots faster than rain.”
For longer shoots, a DIY drying chamber (plastic bin with desiccants) prevents post-rain moisture damage. Pair this with a lens hood to protect camera rain from sideways showers.
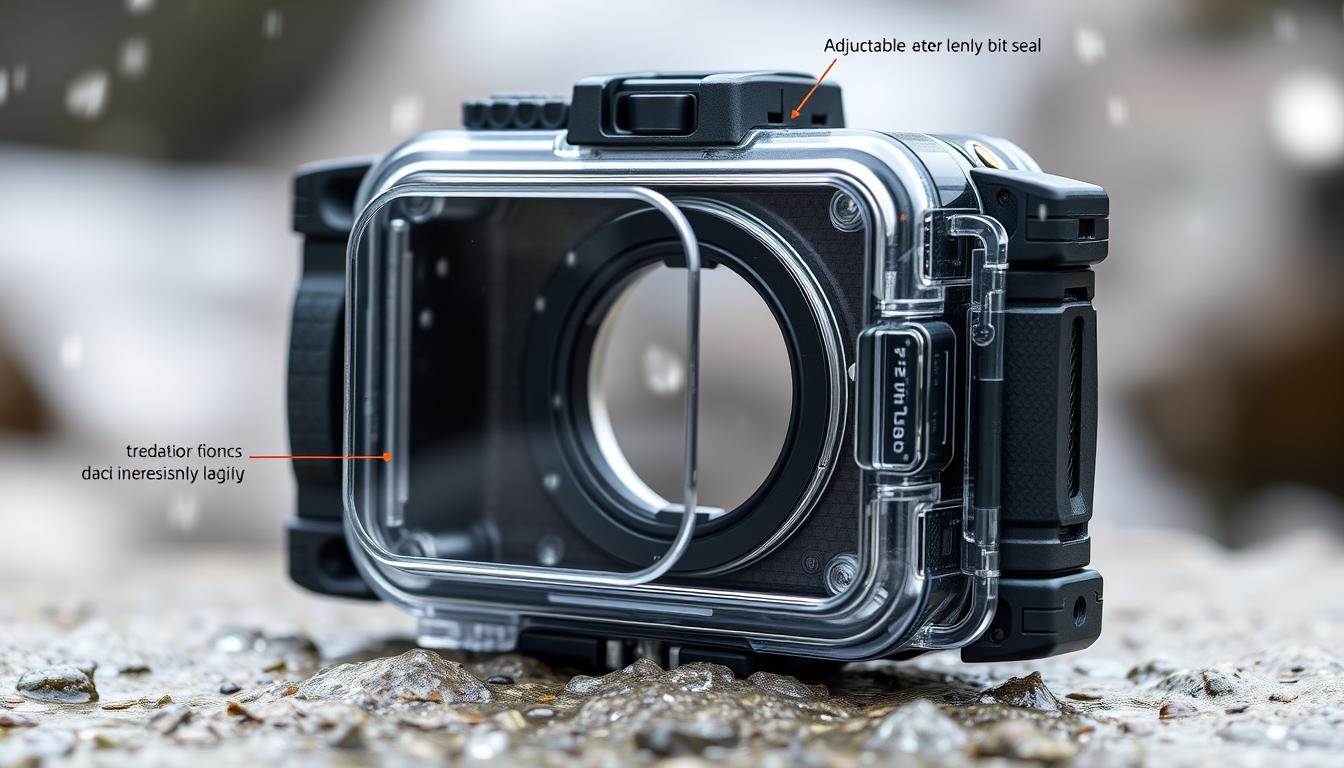
3. Invest in Dedicated Protective Gear
When DIY methods fall short, dedicated weatherproofing gear becomes essential for safeguarding photography equipment. Professional solutions offer precision engineering that matches your camera’s specific vulnerabilities.
Waterproof Cases vs. Camera Skins
The Aquatech SS7 housing provides full submersion protection, ideal for surf photography in Sentosa’s coastal areas. At $300+, these cases create an airtight seal but add bulk that hinders quick access.

For urban photographers, Op/Tech skins offer flexible protection at 95% lower cost. Their stretchable neoprene preserves button tactile feedback while repelling light rain. Application requires careful alignment around dials and ports.
The Role of Lens Hoods in Weatherproofing
Tests show proper lens hoods reduce raindrop incidents by 71%. The physics differs by focal length—35mm hoods deflect sideways rain better than 85mm variants. Pair with weatherproof filters to complete the sealing system.
“Hoods serve dual purposes: they block flare and create a dry zone around the front element during storms.”
For snow conditions, apply anti-fog compounds to hood interiors. This prevents condensation when moving between temperature extremes—common during Singapore’s cooler monsoon months.
Maintain seals by inspecting gaskets every 6 months. Worn components compromise protection over time, especially for equipment used daily in humid environments.
4. Pro Tips for Shooting in Bad Weather
Bad weather creates unique photo opportunities if you know how to handle the conditions. For pictures in heavy rain, use backlit settings like 1/60s at f/5.6 to freeze droplets while keeping scenes bright.
Footwear matters—Nike Air Jordans slip 40% more on wet pavement than grippy hiking boots. Pair traction with a polarizer to cut glare and boost reflections in puddles for striking compositions.
Urban steam adds drama but risks lens fog. Prevent condensation by gradually acclimating gear to temperature shifts. For lightning safety, stay indoors if strikes occur within 10 miles.
Post-process rain streaks by enhancing contrast selectively. This draws attention to textures without overexposing light sources. With these tricks, stormy days become creative goldmines.
FAQ
Is Your Camera Marketed as Weather-Sealed?
Many high-end DSLRs and mirrorless cameras, like the Canon EOS R5 or Sony A7 IV, have built-in weather resistance. Check the manufacturer’s specs for terms like “dustproof” or “splashproof.”
How Do I Protect My Camera in Heavy Rain Without a Case?
A simple plastic bag secured with a rubber band works as a quick shield. For better protection, use a rain cover designed for photography gear.
Do Lens Hoods Help in Bad Weather?
Yes! A lens hood blocks rain and snow from hitting the front element. Pair it with a UV filter for extra protection against moisture and scratches.
Are Waterproof Cases Worth the Investment?
If you shoot often in extreme conditions, a hard waterproof case (like those from Pelican) is ideal. For lighter use, a soft rain sleeve offers flexibility.
Can I Use an Umbrella While Shooting in the Rain?
Absolutely. A compact umbrella helps shield your gear, but mount it on a stand or have an assistant hold it for hands-free shooting.
How Do I Dry My Camera if It Gets Wet?
Remove the battery, wipe the body with a microfiber cloth, and place it in a sealed bag with silica gel packets to absorb moisture. Avoid using heat sources.
Should I Avoid Changing Lenses in Snow or Rain?
Yes. Moisture can enter the sensor chamber. Use a weather-resistant zoom lens to minimize swaps, or work under cover if necessary.


